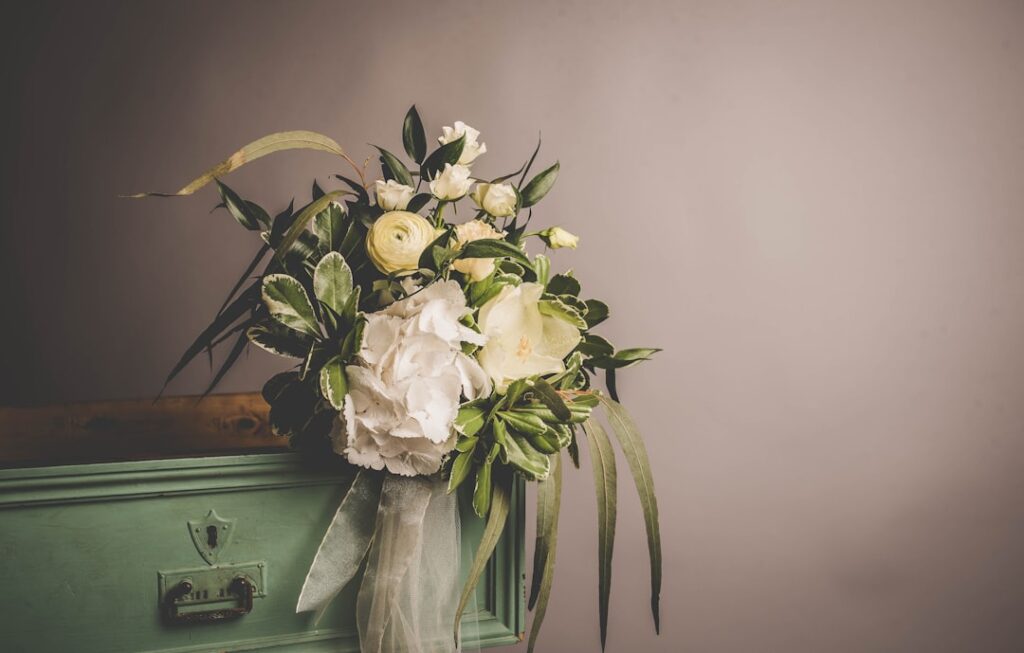
Selecting the perfect flowers for your wedding spray is a crucial step that can significantly influence the overall aesthetic of your special day. The choice of flowers should reflect not only your personal style but also the theme and color palette of your wedding. For instance, if you envision a romantic garden wedding, soft pastels like peonies, roses, and hydrangeas may be ideal.
Conversely, for a more modern or minimalist celebration, consider bold blooms such as calla lilies or orchids in striking colors like deep red or pure white. Each flower carries its own symbolism; for example, roses symbolize love and passion, while lilies represent purity and commitment. Understanding these meanings can help you curate a bouquet that resonates with your emotions and intentions.
Seasonality is another critical factor when choosing flowers. Opting for seasonal blooms not only ensures freshness but can also be more cost-effective. For instance, if you are planning a summer wedding, sunflowers, daisies, and zinnias are typically in full bloom and can add a vibrant touch to your spray.
On the other hand, winter weddings might benefit from the elegance of amaryllis or the classic beauty of poinsettias. Additionally, consider the size and scale of your wedding spray in relation to your overall bridal look. A cascading bouquet may require larger blooms and more greenery to create a dramatic effect, while a compact bouquet might be better suited for a more understated gown.
Gathering the Necessary Tools and Materials
Once you have selected your flowers, the next step is to gather all the necessary tools and materials to create your wedding spray. A well-prepared workspace is essential for a smooth crafting experience. Start by collecting floral shears or scissors, which are vital for cutting stems cleanly and accurately.
A sturdy floral tape will help secure your arrangement, while floral wire can provide additional support for heavier blooms. You may also want to have a floral foam block on hand if you plan to create a more structured design that requires stability. In addition to these tools, consider the aesthetic elements that will enhance your wedding spray.
Ribbons or lace can add a romantic touch when tied around the stems, while decorative pins can secure any embellishments you wish to include. A clean bucket filled with water is essential for keeping your flowers hydrated as you work on your arrangement. It’s also wise to have a workspace covered with newspaper or a plastic sheet to catch any fallen petals or foliage.
By gathering all these materials beforehand, you can focus on the creative process without interruptions.
Preparing the Flowers for Arrangement
Preparing your flowers properly is key to ensuring they look their best in your wedding spray. Begin by removing any leaves that will fall below the waterline in your vase or arrangement; this helps prevent bacterial growth that can shorten the lifespan of your blooms. Next, trim the stems at an angle using your floral shears.
This angled cut increases the surface area for water absorption, allowing your flowers to stay hydrated longer. It’s advisable to perform this step just before you begin arranging to maintain freshness. After trimming, place the flowers in a bucket of water immediately to keep them hydrated while you prepare your arrangement.
If you have purchased flowers that are not yet fully open, consider giving them some time in water to bloom before you start arranging. This can be particularly effective with flowers like roses or peonies, which may need a little encouragement to reach their full beauty. Additionally, if you are using delicate blooms such as sweet peas or anemones, handle them with care to avoid bruising or damaging their petals.
Creating the Base Structure for Your Wedding Spray
| Step | Description |
|---|---|
| 1 | Choose a suitable location for the wedding spray |
| 2 | Decide on the size and shape of the spray |
| 3 | Select the base structure materials (e.g. foam, wire, or wood) |
| 4 | Secure the base structure firmly in place |
| 5 | Consider adding embellishments or decorations to the base structure |
Creating a solid base structure is essential for achieving a balanced and visually appealing wedding spray. Start by selecting a focal flower that will serve as the centerpiece of your arrangement; this could be a large bloom like a peony or a striking orchid. Position this flower at the center of your design, as it will draw the eye and set the tone for the rest of the arrangement.
From there, begin adding secondary flowers around it, ensuring that they complement rather than overshadow your focal point. As you build your structure, consider the overall shape of your spray. A traditional bouquet often has a rounded shape, while a cascading design may require longer stems that flow downward.
Use floral tape to bind the stems together as you go along; this will help maintain stability and allow you to adjust the arrangement as needed. Pay attention to the height and spacing of each flower; varying these elements will create visual interest and depth in your design. Remember that balance is key; aim for an even distribution of colors and shapes throughout the arrangement.
Adding Foliage and Fillers for Texture and Volume
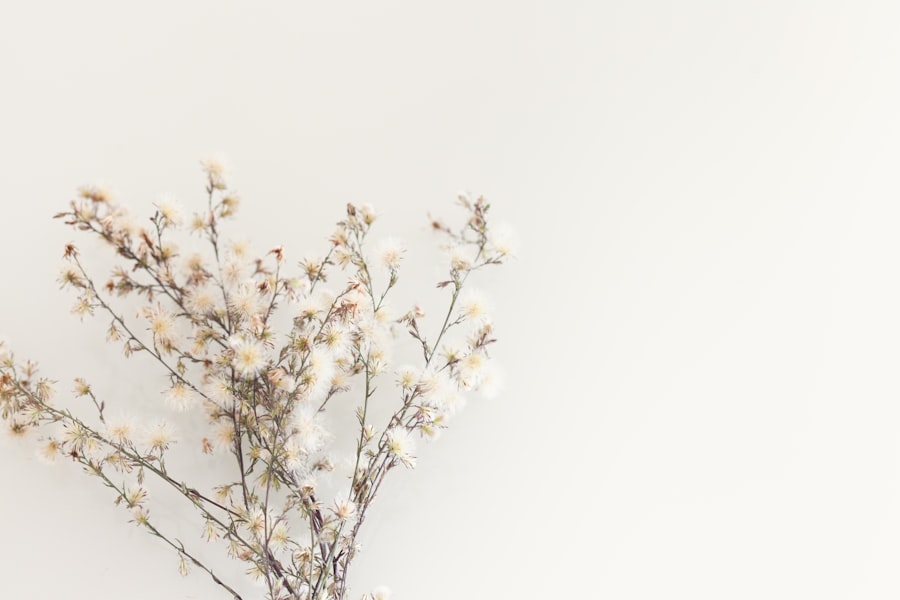
Once you have established the main structure of your wedding spray, it’s time to enhance it with foliage and fillers that add texture and volume. Greenery plays an essential role in floral arrangements by providing contrast against the vibrant colors of the flowers. Consider using eucalyptus leaves for their soft, silvery hue or ferns for a lush, organic feel.
These elements not only fill out the arrangement but also create a sense of harmony between the various components. Fillers such as baby’s breath or waxflower can also be incorporated to add delicate touches that soften the overall look of your spray. These smaller blooms can fill in gaps between larger flowers and create a more cohesive design.
When adding foliage and fillers, be mindful of their placement; aim for an organic flow that mimics nature rather than a rigid structure. This approach will give your wedding spray an effortless elegance that enhances its beauty.
Finishing Touches and Maintenance for Your DIY Wedding Flower Spray

As you near completion of your wedding spray, it’s time to focus on those finishing touches that will elevate your arrangement from beautiful to breathtaking. Consider adding decorative elements such as pearls or crystals that can be woven into the foliage or attached to the stems with floral wire. These accents can catch the light beautifully and add an extra layer of sophistication to your design.
Additionally, if you have chosen to use ribbons or lace, ensure they are securely tied around the stems at an appropriate length; this detail can add a romantic flair that ties in with your wedding theme. Maintenance is crucial once your wedding spray is complete. To keep your flowers looking fresh throughout the day, mist them lightly with water before the ceremony begins and store them in a cool place away from direct sunlight until it’s time to walk down the aisle.
If possible, have someone responsible for checking on them periodically to ensure they remain hydrated and vibrant. After the ceremony, consider placing your bouquet in water immediately to prolong its life; many brides choose to preserve their bouquets after the wedding as a cherished keepsake. Creating your own wedding flower spray can be an incredibly rewarding experience that allows you to express your creativity while adding a personal touch to your special day.
By carefully selecting flowers, gathering necessary tools, preparing blooms properly, establishing a solid structure, incorporating foliage and fillers, and paying attention to finishing details and maintenance, you can craft an arrangement that not only enhances your bridal look but also serves as a beautiful symbol of love and commitment on one of life’s most significant occasions.